Thursday, March 13, 2014

Winki Dinks or Pup Tents?

My favorite sewing projects are ones commonly referred to as "in-the-hoop". With these projects, you take an embroidery hoop that works with your embroidery machine, a hoop stabilizer and fabric, load a design to your machine, and then stitch the design. It is a wonderful way to make personalized gifts for any occasion. 

This weekend I am attending a baby shower for a friend that is expecting a little boy in April. Searching on the internet for unique gift ideas, I found a fun little gift called a "Pee Pee Teepee"! I had never heard of these creations and immediately wished I had known of them when my nine year old boy was born. They make perfect gifts!

Trying to decide what to call them, I came up with a couple of fun names. I will either call them "Winki-Dinks" or "Pup-Tents".  What do you think?


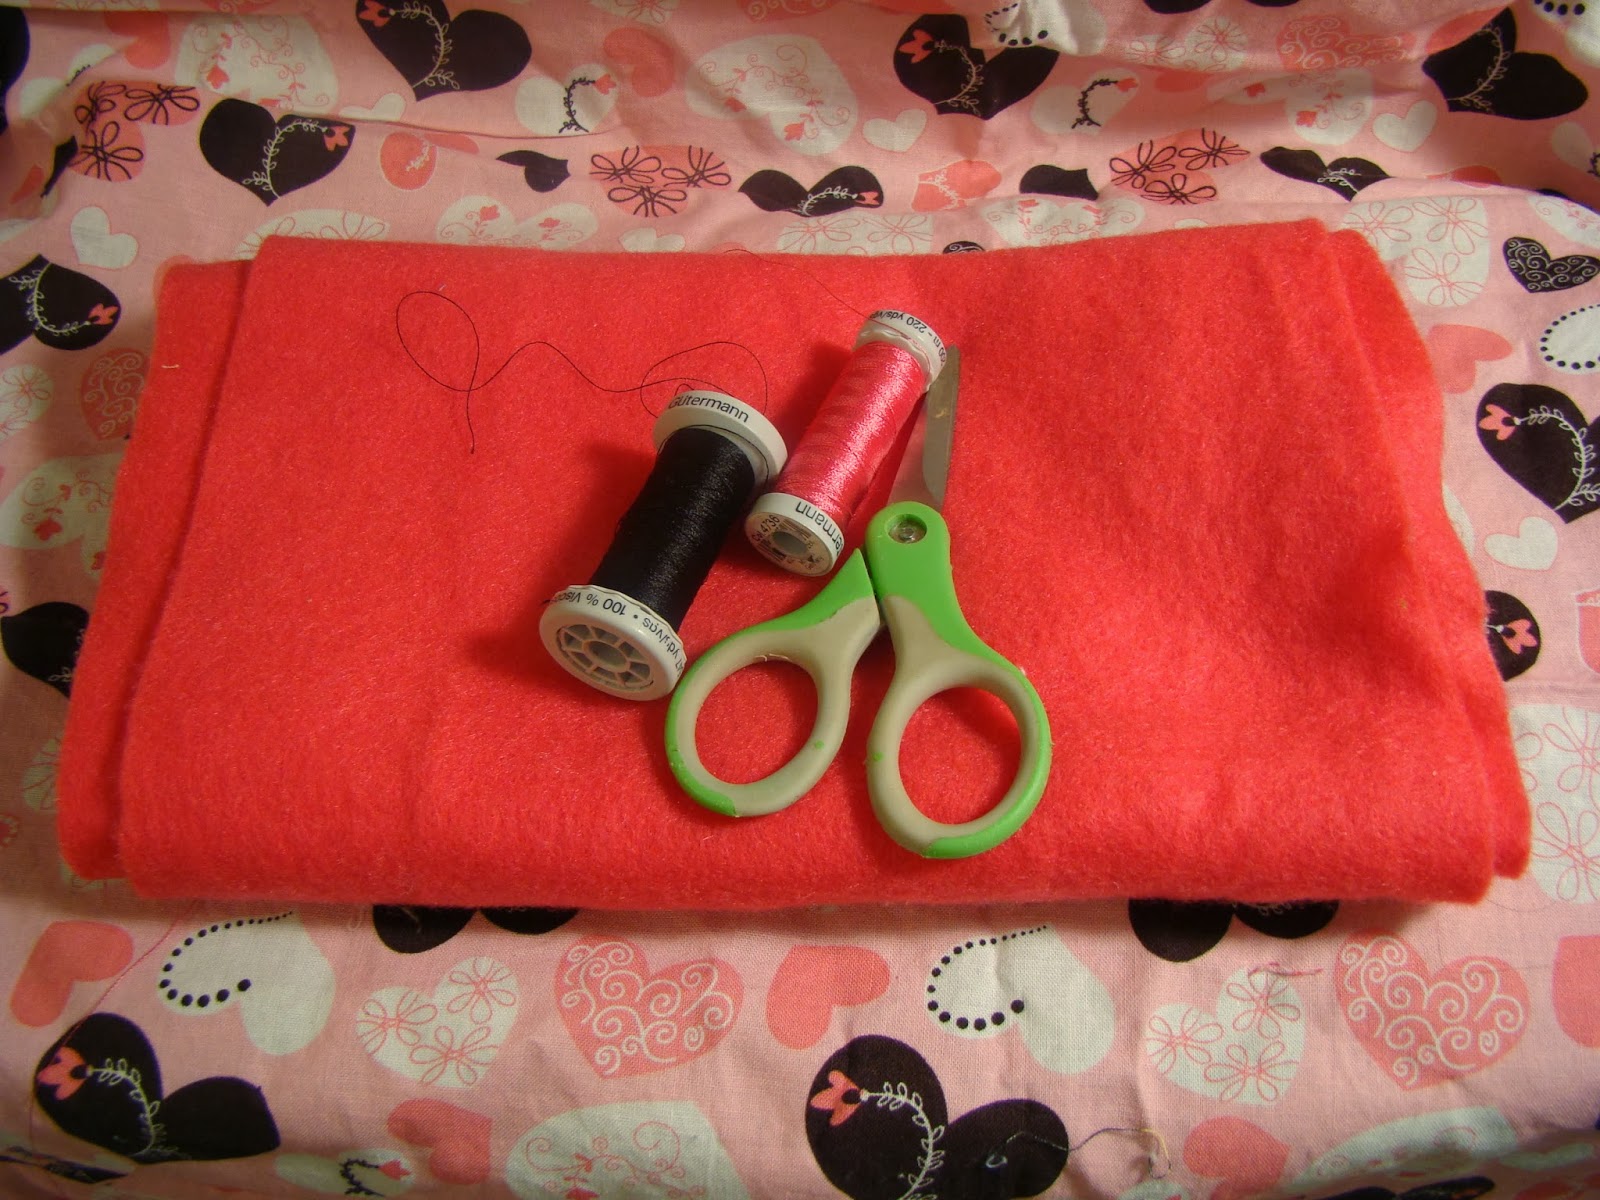
This is how I make them:  

First, I trace a large circle using a bowl on two coordinating fabrics, one being a cotton blend and the other a soft flannel. The bowl I use is between 8 to 9 inches round.


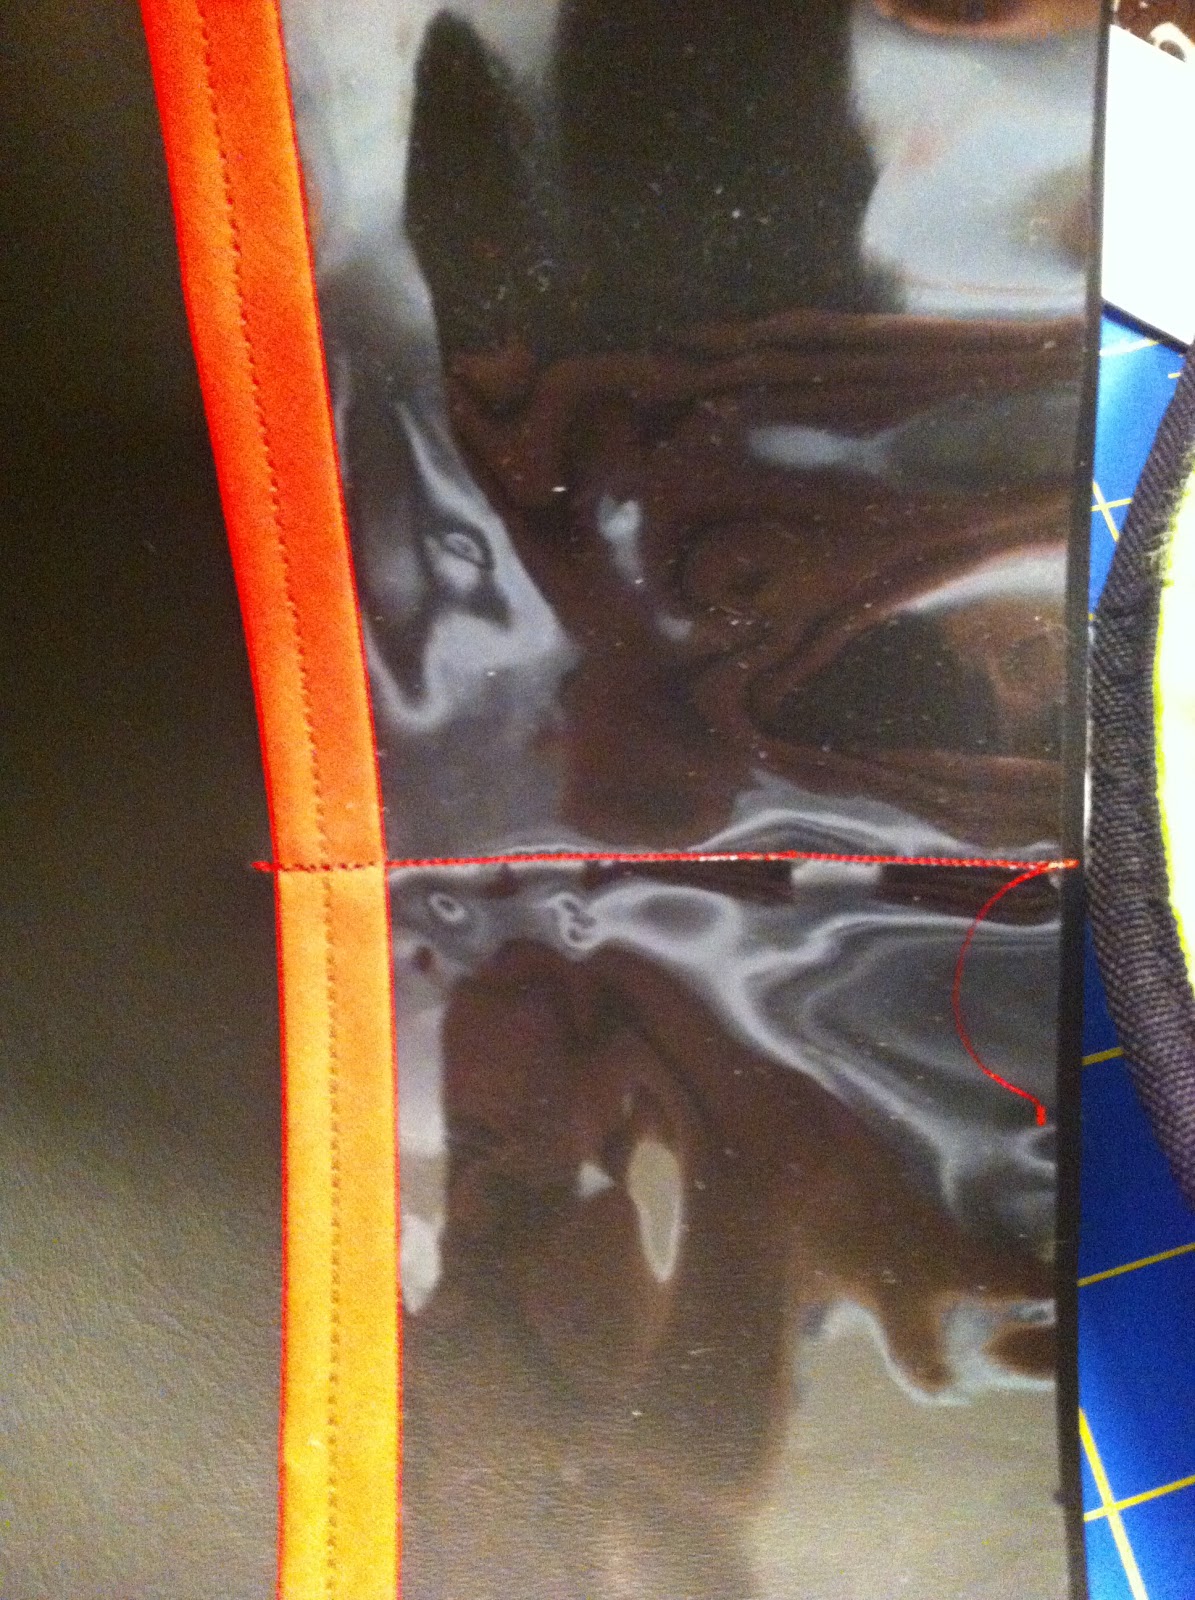
Next, I take the circle cut-outs and fold them in half, pressing a crease in the fabric.  The crease gives me a guide line that I use to cut the circles down the middle. 


Before I stitch the cotton and flannel fabrics together, I embroider the baby's initials on the cotton fabric. 


I then take the embroidered cotton fabric and one of the flannel half-circles and sew the right sides together. Then I turn the fabrics inside out and again pin the right sides together, sewing up one side, making a cone. It is at this point in my first attempt that I accidentally monogrammed the initials upside down.


But that was okay! The parents can see the monogram perfectly while they are changing their beautiful baby's diapers (and are being kept shielded).


Here are six of them that I made. One large circle makes two covers. The flannel on the inside all six of the covers are a coordinating brown.  The flannel is used to help absorb any accidents.


Once I had finished the covers, I made a cute little bag for them to be stored in so they can be thrown in the diaper bag to go!


Thursday, February 27, 2014

Ready for Spring

I love giving gifts. I always have. Whether is something small just to say I love you or planning out a big surprise, I just love giving.

I will go ahead and tell you, I am a sucker for my family. If I see something neat, I want it for everyone. On night last week as I was shopping, I scored big on some really nice baseball caps. Knowing what I wanted to do with them, I bought assorted colors that I knew my SILs (sister n law) would liked (I have five of them). I knew these would be great to use at the pool, working in the yard, and taming a bad hair day.

After merging fonts together, I took the hats over to my single needle embroidery machine and crossed my fingers that I could figure out some way to add monograms to the hats with out needing any special embroidery hoops.


Each hat I flattened the front as much as possible and pinned the hat flat to the stabilizer.


I added each sister's monogram to the front of the hats. For the monogram font, I used KK font from 8 Claws and a Paw Embroidery.

I think they turned out beautiful!!!  They all loved them!  This hat is pink, even though it looks red.


Megan's hat is burgundy. This will go with all of her Gamecocks attire. She is a huge fan!


Jennifer's hat is pink, she is sassy like that.  She loves all things pink!


For Nicole, I used a beautiful teal thread on a Khaki hat. I love these colors together.

I did do one for my mom. Her hat is navy with a white monogram. I have one SIL hat left to finish.

Like always, I haven't made one for me. I do have more hats, because like I said earlier, these hats were too good of a deal to pass up. I will be making one for Kayla as she starts softball practice next week.

I have plenty of more projects to work on, but this semester has been keeping me BUSY!  

Thursday, February 20, 2014

Travel Blackboard Mat

I am always looking around the Internet/Pinterest to find ideas for things to create.  I mean, I already have a list of unfinished sewing projects laying on my desk, so why not add more, right?!?!

One of the cutest ideas I have seen in quite a while is the "travel blackboard mat".

Here are a few examples I have found on other blog sites:

Travel Blackboard Mat


Both sites are loaded with pictures and details describing how to put a travel blackboard mat together.  

First, gather your supplies:  sewing/embroidery machine, fabric, thread, scissors/rotary cutter, cutting mat, blackboard vinyl, clear vinyl,  bias tape, and chalk.


First I cut the blackboard and cotton fabric to 10 x 15.  I figured that would be a nice size rectangle.
Fabric from Joann Fabric and Crafts
Blackboard Fabric from Joann Fabric and Crafts
Next, I decided to add "Jameson", my nephew's name.  So I hooped the monster fabric and embroidered it on the bottom of the fabric.  For the second mat,  I will embroider "Jack", another nephew's name, on one of the shorter sides so the name can be seen when it is rolled up! 


I cut a 4 x 10 piece of clear vinyl to make the pockets.  On one long side I sewed a piece of bias tape to cover the raw edge,  then lined the vinyl along one end of the rectangle and sewed a straight line up the middle, attaching the vinyl to the blackboard fabric.  This will create two pockets, one for chalk and the other for an eraser.

Vinyl Pocket

Next, I attached the monster fabric and blackboard fabric wrong-sides together.  I added a folded ribbon under the tape for the tie.   Using binder clips, I attached the bias tape around the mat and by using this tutorial Sew To Speak: How To: Attach bias tape (with mitered corners), I mitered the corners. 


The blackboard mat is all done!!


Despite the sun in Kayla's eye, I had her prime the blackboard with chalk.  To make the eraser, I simply cut off a square of terry cloth.


My Biggest Helper

Travel Blackboard Mat


 Now on to the next one!!

Thursday, February 13, 2014

Butterfly Chapstick Valentine's Day Gifts

Happy Valentines Day!!  


I wanted to show you a quick and easy Valentine's gift that would work for either co-workers or Valentine's exchange in your childrens' class rooms.


To get started you will need:


First, hoop your stabilizer and felt, then put the hoop in your machine.

Following the stitch steps on the machine, stitch out the butterflies. (Using software, I was able to merge six butterflies onto one hoop to help the sew the patterns out faster.)


While the felt is still in the hoop, use scissors or a seam ripper to make cuts in the butterfly to hold the Chapstick.

Once completed, take the felt out of your hoop and trim away each butterfly.  They will look like this!


Since I am making these for some ladies at work, I added some rhinestone bling!


I put each butterfly in a heart decorated bag and tied it together with ribbon.


Hope the ladies at work enjoy these gifts as much as I enjoy making them!

Happy Valentine's Day!!