Thursday, February 20, 2014

Travel Blackboard Mat

I am always looking around the Internet/Pinterest to find ideas for things to create.  I mean, I already have a list of unfinished sewing projects laying on my desk, so why not add more, right?!?!

One of the cutest ideas I have seen in quite a while is the "travel blackboard mat".

Here are a few examples I have found on other blog sites:

Travel Blackboard Mat


Both sites are loaded with pictures and details describing how to put a travel blackboard mat together.  

First, gather your supplies:  sewing/embroidery machine, fabric, thread, scissors/rotary cutter, cutting mat, blackboard vinyl, clear vinyl,  bias tape, and chalk.


First I cut the blackboard and cotton fabric to 10 x 15.  I figured that would be a nice size rectangle.
Fabric from Joann Fabric and Crafts
Blackboard Fabric from Joann Fabric and Crafts
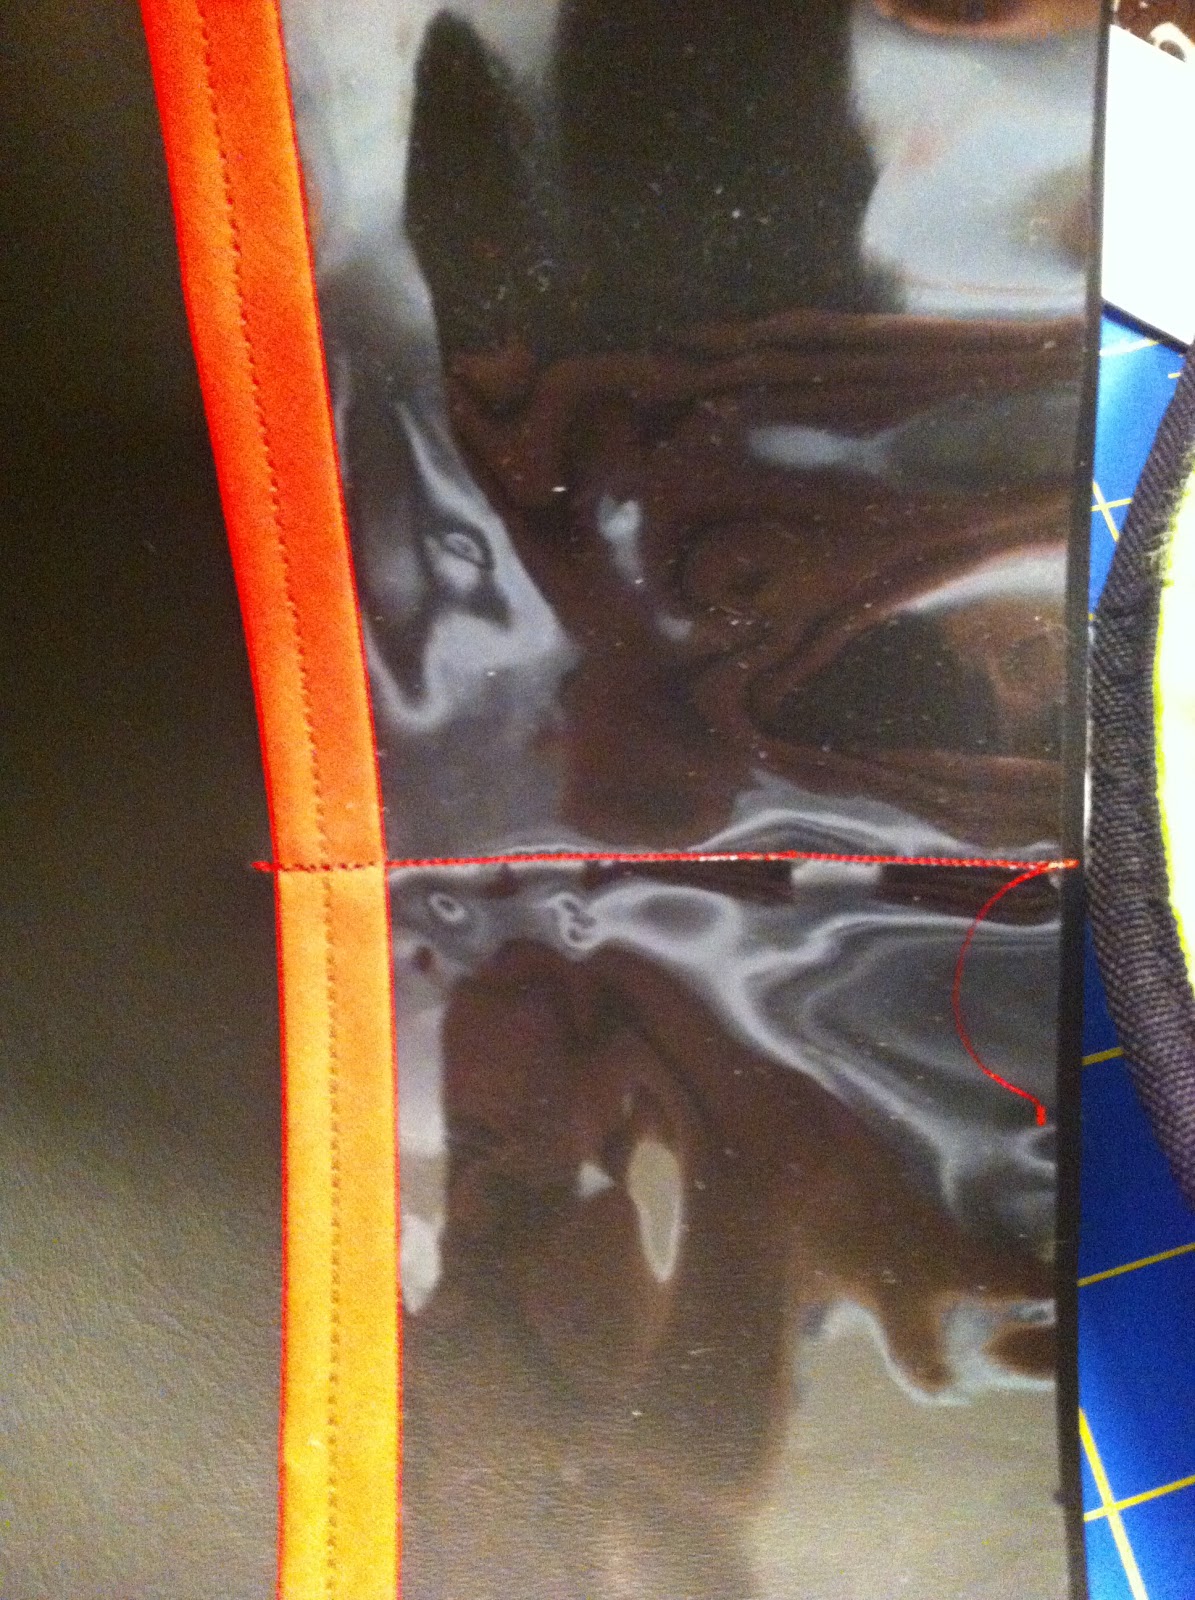
Next, I decided to add "Jameson", my nephew's name.  So I hooped the monster fabric and embroidered it on the bottom of the fabric.  For the second mat,  I will embroider "Jack", another nephew's name, on one of the shorter sides so the name can be seen when it is rolled up! 


I cut a 4 x 10 piece of clear vinyl to make the pockets.  On one long side I sewed a piece of bias tape to cover the raw edge,  then lined the vinyl along one end of the rectangle and sewed a straight line up the middle, attaching the vinyl to the blackboard fabric.  This will create two pockets, one for chalk and the other for an eraser.

Vinyl Pocket

Next, I attached the monster fabric and blackboard fabric wrong-sides together.  I added a folded ribbon under the tape for the tie.   Using binder clips, I attached the bias tape around the mat and by using this tutorial Sew To Speak: How To: Attach bias tape (with mitered corners), I mitered the corners. 


The blackboard mat is all done!!


Despite the sun in Kayla's eye, I had her prime the blackboard with chalk.  To make the eraser, I simply cut off a square of terry cloth.


My Biggest Helper

Travel Blackboard Mat


 Now on to the next one!!

No comments:

Post a Comment